
By Lady Timeless

.. this tutorial is like most of my tutorials.. I try to make it as easy as possible and only the basics to get you started. Of course there is so much more you can do with this so play around and get use to it.. you just may stumble onto something new or better :-))
.. you will be outlining some text but you MUST do this method with font files.. either use the font files Image Magick has listed or use an outside ttf file like MsM Fonts, Specialty Fonts or Other Folks Fonts.. Image Magick has plenty of fonts to play with until you can get use to things though.. this method can be done with dingbat files too naturally but I won't go into that here.. those experienced with Image Magick will know how to adapt these instructions to using a dingbat and will be able to outline those as well (hopefully).. :-))
you will need two things before you can begin.. a blank base gif and a background of some kind.. if you don't have a gif you can pick one up HERE and you can pick up a background HERE
... now... let me get your full attention on this first step.. it's very important.. the color of the outline around your words can be ANY color you wish but you MUST start with a blank base the SAME color you want your outline to be BEFORE you Matte it out. If you want the outline black then start with a black base but if you want red as your outline color around your text (words) then you MUST start with a red base.. doing this will prevent that tiny annoying outline barely visible around the outside edge of the outline... In my case I want it black so I will start with a blank black base.

... I took my blank black base url to Image Magick and placed the url in the proper field then clicked "view".
.. just under the base you'll see Optional Paint Attributes change the following attributes to:
Paint Type: Matte
Method: Floodfill
Fill Color & Border Color: delete contents and LEAVE EMPTY
now tap your Return key and an arrow will show up then click
you should have a transparent (invisible) blank base now

now at the top of the page click "Annotate"
Fill in the following attributes:
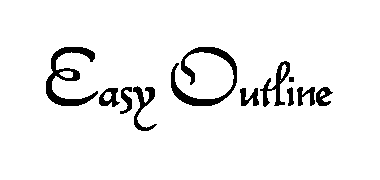
Text: Easy Outline
Gravity: Center
Fill Color: black Pointsize: 90
Font: Civitype
now Click "annotate"
here is the result:
now at the top of the page click "Composite"
take a background of your choice and place the url in the url field.. change the attributes to the following:
Compose: In
click on the tiny box next to Micellaneous options and a red check mark will come up
now click "Composite"
here's the result:

now at the top of the page click "Output"
Format: gif Storage Type: single file
click "output"
click on the image, cut and paste the temporary url then hit your back button on your keyboard.. you should be at the transloading page at Image Magick
at the top of the page click "Annotate" ... all the fields should still be like you just had them.. change the following ONLY:
Stroke Color: black Stroke Width: 10
now click "annotate"
here's the result:

now at the top of the page click "Composite" ... remove the url inside the field and paste the url you have in it's place.. change the following ONLY:
Compose: Over
click on the red check mark to remove it and click "Composite"
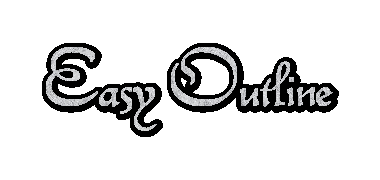
to trim the edges click "Transform". The "trim" radio button is lit by default, so just scroll down and click transform
here's the finished banner, resized from 380x180 to 300x109:

that's it!! wasn't that simple? ...always remember to output your banner as a gif because jpgs cannot have transparent backgrounds :-))